6. Run the host app#
Teams creating projects on top of Pigweed often create host versions of
their apps to speed up development. “Host” means that there’s no physical
embedded device in the loop; a simulated version of the app runs directly
on your development host computer. Host Device Simulator is the
underlying library that makes it possible to simulate apps.
pw_console makes it easy to connect to the simulated app. Try
out a simulated version of the blinky bringup app now:
Communicate with a simulated device#
Start the simulated app:
In Bazel Targets expand //apps/blinky, then right-click :simulator_blinky (host_device_simulator_binary), then select Run target.
Caution
Make sure to click Run target not Build target.
Extra macOS setup
If you see Do you want the application “bazel” to accept incoming network connections? click Allow. The simulated device needs to connect to local ports.


You should see output like this:
INFO: Analyzed target //apps/blinky:simulator_blinky (0 packages loaded, 0 targets configured).
INFO: Found 1 target...
Target //apps/blinky:simulator_blinky up-to-date:
  bazel-bin/apps/blinky/simulator_blinky
INFO: Elapsed time: 0.187s, Critical Path: 0.00s
INFO: 1 process: 1 internal.
INFO: Build completed successfully, 1 total action
INFO: Running command line: bazel-bin/apps/blinky/simulator_blinky
=====================================
=== Pigweed Sense: Host Simulator ===
=====================================
Simulator is now running. To connect with a console,
either run one in a new terminal:

   $ bazelisk run //<app>:simulator_console

where <app> is e.g. blinky, factory, or production, or launch
one from VSCode under the 'Bazel Targets' explorer tab.

Press Ctrl-C to exit
Awaiting connection on port 33000
(Your exact port may be different; that’s OK.)
Keep this process running. This process is your simulated device. It’s listening on a local port for connections. In the next step you connect to the simulated device over the local port.
Start the simulated device:
bazelisk run //apps/blinky:simulator_blinkyYou should see output like this:
INFO: Analyzed target //apps/blinky:simulator_blinky (0 packages loaded, 0 targets configured).
INFO: Found 1 target...
Target //apps/blinky:simulator_blinky up-to-date:
  bazel-bin/apps/blinky/simulator_blinky
INFO: Elapsed time: 0.140s, Critical Path: 0.00s
INFO: 1 process: 1 internal.
INFO: Build completed successfully, 1 total action
INFO: Running command line: bazel-bin/apps/blinky/simulator_blinky
=====================================
=== Pigweed Sense: Host Simulator ===
=====================================
Simulator is now running. To connect with a console,
either run one in a new terminal:

   $ bazelisk run //<app>:simulator_console

where <app> is e.g. blinky, factory, or production, or launch
one from VSCode under the 'Bazel Targets' explorer tab.

Press Ctrl-C to exit
Awaiting connection on port 33000
Keep this process running. This process is your simulated device. It’s listening on a local port for connections. In the next step you connect to the simulated device over the local port.
Connect to the simulated app with pw_console, Pigweed’s extensible interactive console.
In Bazel Targets right-click the :simulator_console (native_binary) (also under //apps/blinky) and then select Run target.
Open another terminal window or tab and run the following command:
bazelisk run //apps/blinky:simulator_consoleYou should see
pw_consolestart up within VS Code like this: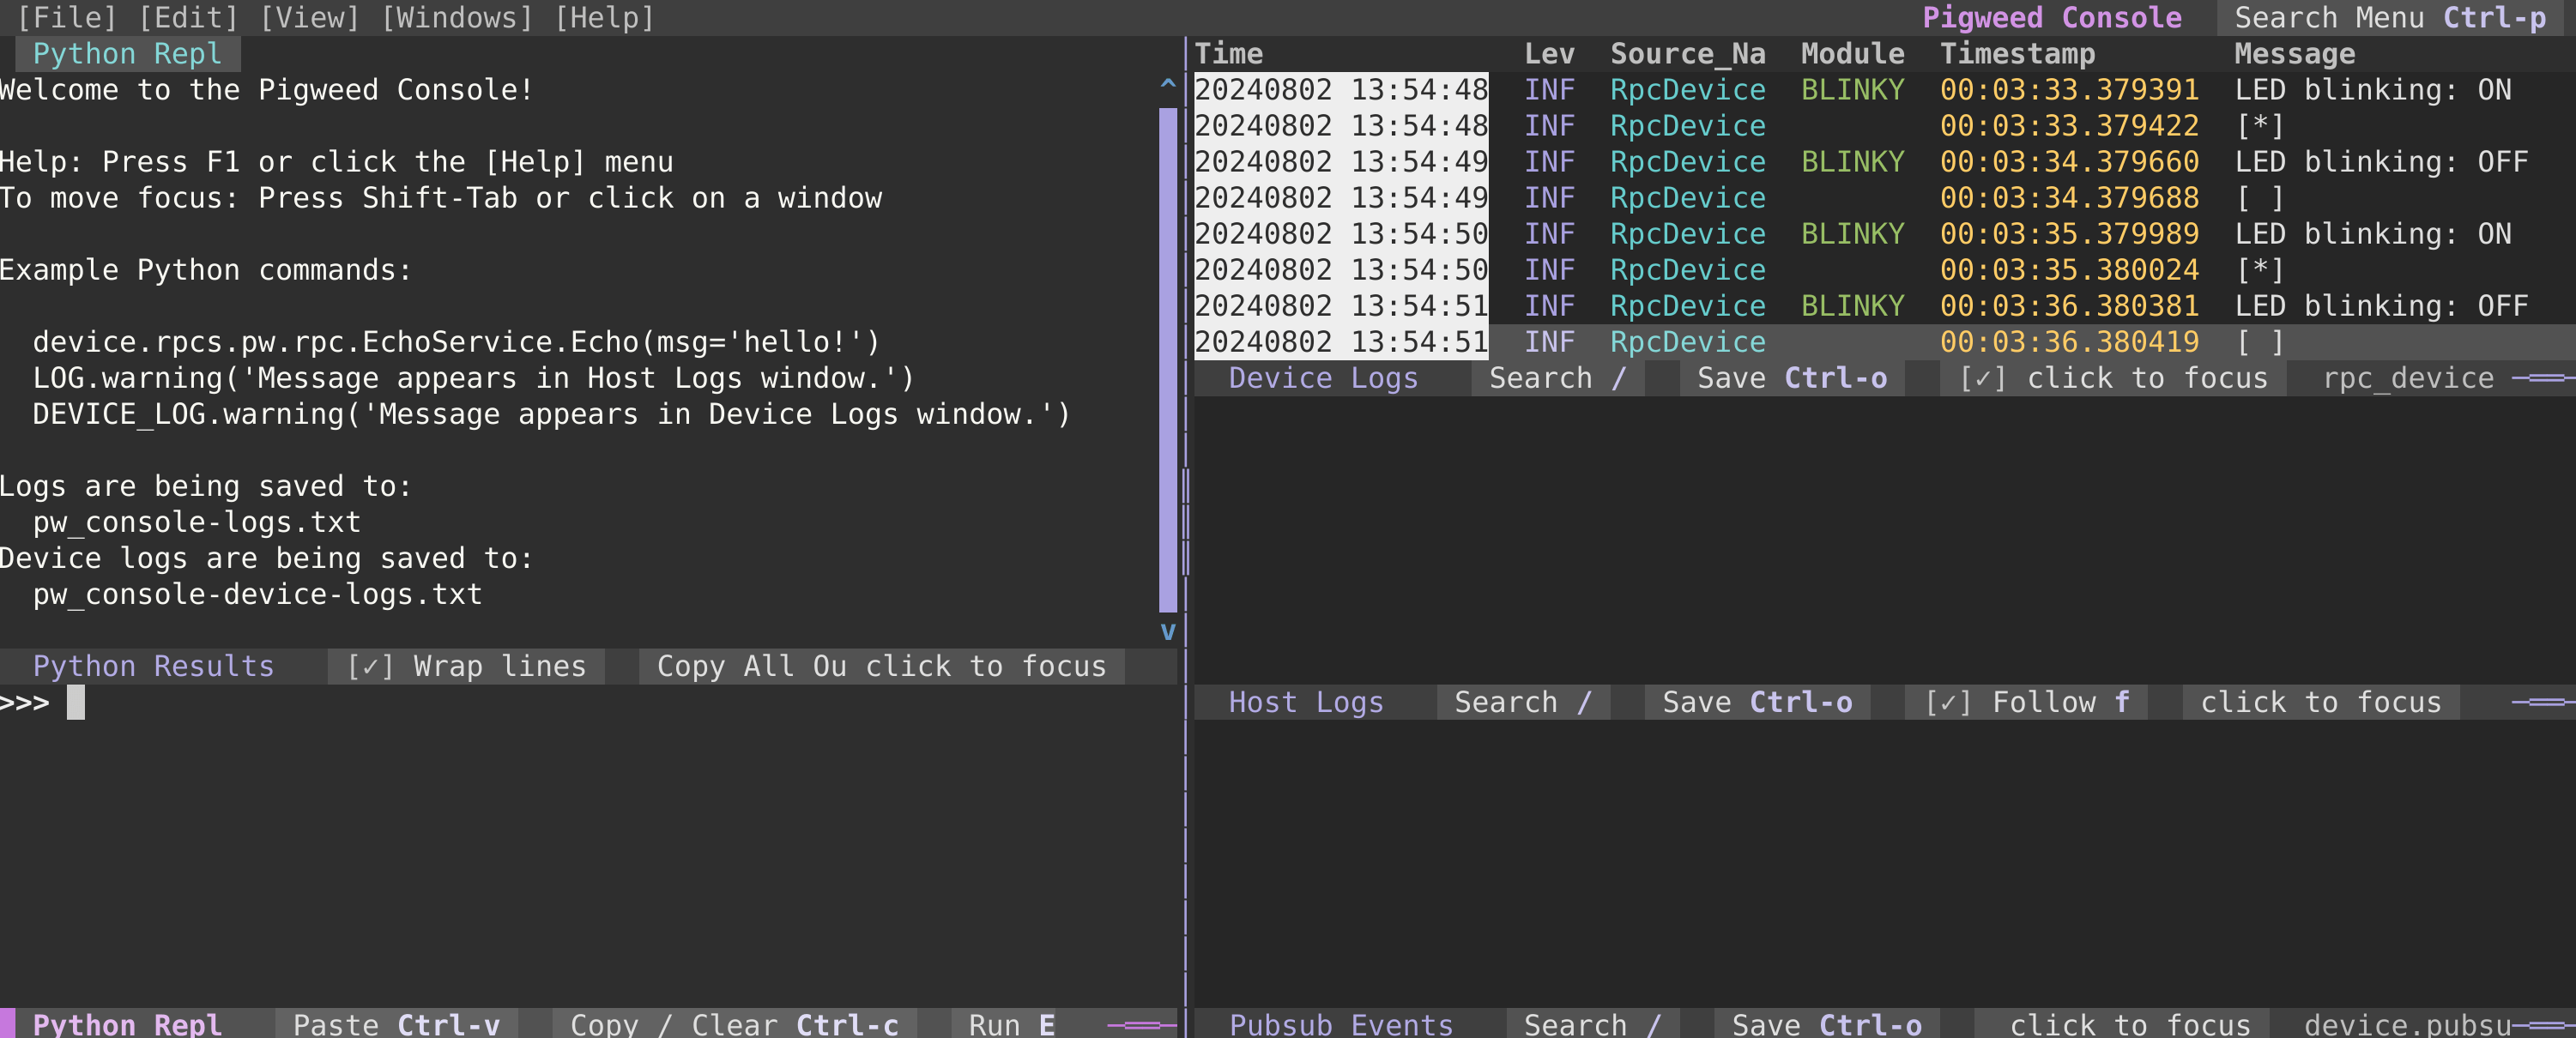
Look at the Device Logs table (top-right pane). You should see the simulated device sending
LED blinkingmessages every second.Simulate polling the Pico’s temperature by typing the following into Python Repl (bottom-left pane, look for the
>>>input prompt) and then pressing Enter:>>> device.rpcs.board.Board.OnboardTemp()
What’s a REPL?
REPL stands for Read Eval Print Loop. It’s an interactive shell that takes your input, executes it, prints the result of the execution back to your interactive shell, and then repeats the loop. The console in Chrome DevTools is an example of a REPL. Running
python3by itself on a command line is another example of a REPL.In the Python Results section (top-left pane) you should see output like this:
>>> device.rpcs.board.Board.OnboardTemp()
(Status.OK, board.OnboardTempResponse(temp=20.0))
Send a command over RPC that toggles the simulated device’s LED:
>>> device.rpcs.blinky.Blinky.ToggleLed()
You should see a
Toggling LEDmessage and the automaticLED blinkingmessages stop.Exercise
Can you figure out how to create a new RPC method that blinks the LED twice? See Create a BlinkTwice RPC method for a solution.
Close
pw_console:Press Ctrl+D twice to close
pw_consoleand then press any key to close the terminal thatpw_consolelaunched in.Press Ctrl+D twice to close
pw_console.Stop running the simulated device:
Press Ctrl+C to close the simulated device and then press any key to close the terminal that it launched in.
Press Ctrl+C to close the simulated device.
Of course polling a simulated temperature and toggling a simulated LED is rather basic but hopefully you can see how much faster your team’s development can be when you have a simulated version of your embedded system to work against.
Let’s explore pw_console a bit more and then we’ll move on to
working with physical devices.
Try the web-based console#
pw_console also provides a web-based UI that’s high performance,
accessible, and easy to make plugins for. Try it now:
Launch the simulated device again:
Start up the simulated device again by going to Bazel Targets, right-clicking the :simulator_blinky (host_device_simulator_binary) target (under //apps/blinky), and then selecting Run target.
Caution
Make sure to run :simulator_blinky, not :simulator_console. The first target starts the simulated device. The second target attempts to connect to a simulated device. The second target naturally won’t work if a simulated device isn’t running.
bazelisk run //apps/blinky:simulator_blinkyNote
We had you close the simulated device in the last section and then restart it again here because we’re sorting out some issues around simulated devices not accepting new connections reliably.
Start the web-based console:
In Bazel Targets right-click :simulator_webconsole (native_binary) (under //apps/blinky) then select Run target.
Open another terminal window or tab and run the following command.
bazelisk run //apps/blinky:simulator_webconsoleYou should see the console open in your web browser:

The top-right table named Device Logs shows you logs coming from the simulated device. The bottom-right table named Host Logs shows you logs coming from your development host.
Send an RPC to poll the simulated device’s temperature again by entering the following in the bottom-left input box and then pressing Enter:
device.rpcs.board.Board.OnboardTemp()
Note
This REPL executes Python code.

Append
"00:00"(note the double quotes) to the Device Logs search box so that the complete query becomeslog_source:device "00:00".The table only shows logs that occurred in the first minute of logging. Everything later than that is filtered out.
Troubleshooting
Don’t see a search bar? Click the magnifying glass icon to the right of Device Logs. The search bar is collapsed by default on narrow screens.
Nothing is showing up? Try
"00:01","00:02", etc.See Filter logs to learn more about filtering.

Close the web-based console and simulated app. You’re done with them for now. In the terminals where you launched these, each can be closed by pressing Control+C. To close the web console you may need to press Control+C twice.
Learn more about pw_console#
Check out the user guide to learn more
about pw_console’s navigation shortcuts, features, and configuration options.
See the embedding guide and
plugin guide to learn more about
customizing pw_console for your project’s needs.
Check out Log viewer for more information about the
web-based version of pw_console.
Summary#
Being able to run a simulated version of your product directly on your development host is another way that Pigweed makes embedded product development faster, more robust, and more reliable. For one, it’s usually just much faster to iterate on code running on your computer versus a separate embedded device. For two, if you’re bringing a new product to market, the hardware for your new device might not even exist yet!
Next, head over to 7. Flash your Pico to start running Sense on real hardware.
Appendix#
Create a BlinkTwice RPC method#
Here’s one possible solution to the RPC creation exercise in Communicate with a simulated device.
Declare a BlinkTwice() protobuf method and
BlinkTwiceRequest protobuf message.
// //modules/blinky/blinky.proto

Service Blinky {
  // ...
  rpc BlinkTwice(BlinkTwiceRequest) returns (pw.protobuf.Empty);
  // ...
}

message BlinkIdleResponse {
  // ...
}

message BlinkTwiceRequest {}

message BlinkRequest {
  // ...
}
Declare the method handler in the RPC server.
// //modules/blinky/service.h

// ...

pw::Status Blink(const blinky_BlinkRequest& request, pw_protobuf_Empty&);

pw::Status BlinkTwice(const blinky_BlinkTwiceRequest&, pw_protobuf_Empty&);

pw::Status Pulse(const blinky_CycleRequest& request, pw_protobuf_Empty&);

// ...
Implement the method handler in the RPC server.
// //modules/blinky/service.cc

pw::Status BlinkyService::Blink(const blinky_BlinkRequest& request,
                                pw_protobuf_Empty&) {
  // ...
}

pw::Status BlinkyService::BlinkTwice(const blinky_BlinkTwiceRequest&,
                                     pw_protobuf_Empty&) {
  return blinky_.BlinkTwice();
}

pw::Status BlinkyService::Pulse(const blinky_CycleRequest& request,
                                pw_protobuf_Empty&) {
  // ...
}
Declare the BlinkTwice() hardware abstraction layer (HAL) method.
// //modules/blinky/blinky.h

// ...
namespace am {
 public:
  // ...
  pw::Status::BlinkTwice() PW_LOCKS_EXCLUDED(lock_);
  // ...
}  // namespace am
Implement the BlinkTwice() HAL method.
// //modules/blinky/blinky.cc

pw::Status Blinky::Blink(uint32_t blink_count, uint32_t interval_ms) {
  // ...
}

pw::Status Blinky::BlinkTwice() {
  uint32_t num_toggles = 4;
  uint32_t interval_ms = 1000;
  PW_LOG_INFO(
      "Blinking %u times at a %ums interval", num_toggles / 2, interval_ms);
  pw::chrono::SystemClock::duration interval =
      pw::chrono::SystemClock::for_at_least(
          std::chrono::milliseconds(interval_ms));
  timer_.Cancel();
  {
    std::lock_guard lock(lock_);
    monochrome_led_->TurnOff();
    num_toggles_ = num_toggles;
    interval_ = interval;
  }
  return ScheduleToggle();
}

void Blinky::Pulse(uint32_t interval_ms) {
  // ...
}